“Bloom” Layout with Spellbinders Platinum 6 & Textured Flowers Dies.
Hello lovelies 🙂 Today I have a new layout for you and this time it’s a little bit different from my usual pages (at least I think so 😀 ). Spellbinders sent me their Platinum 6 Die Cutting & Embossing Machine to try out with two different die sets of my choice (I chose this “Textured Flowers” set and I’m completely in love with it, and this “More than Milk Carton” die set that I will show you in another blogpost) and the Tool ‘n One that you can use for paper piercing, removing die cuts from your dies and more.
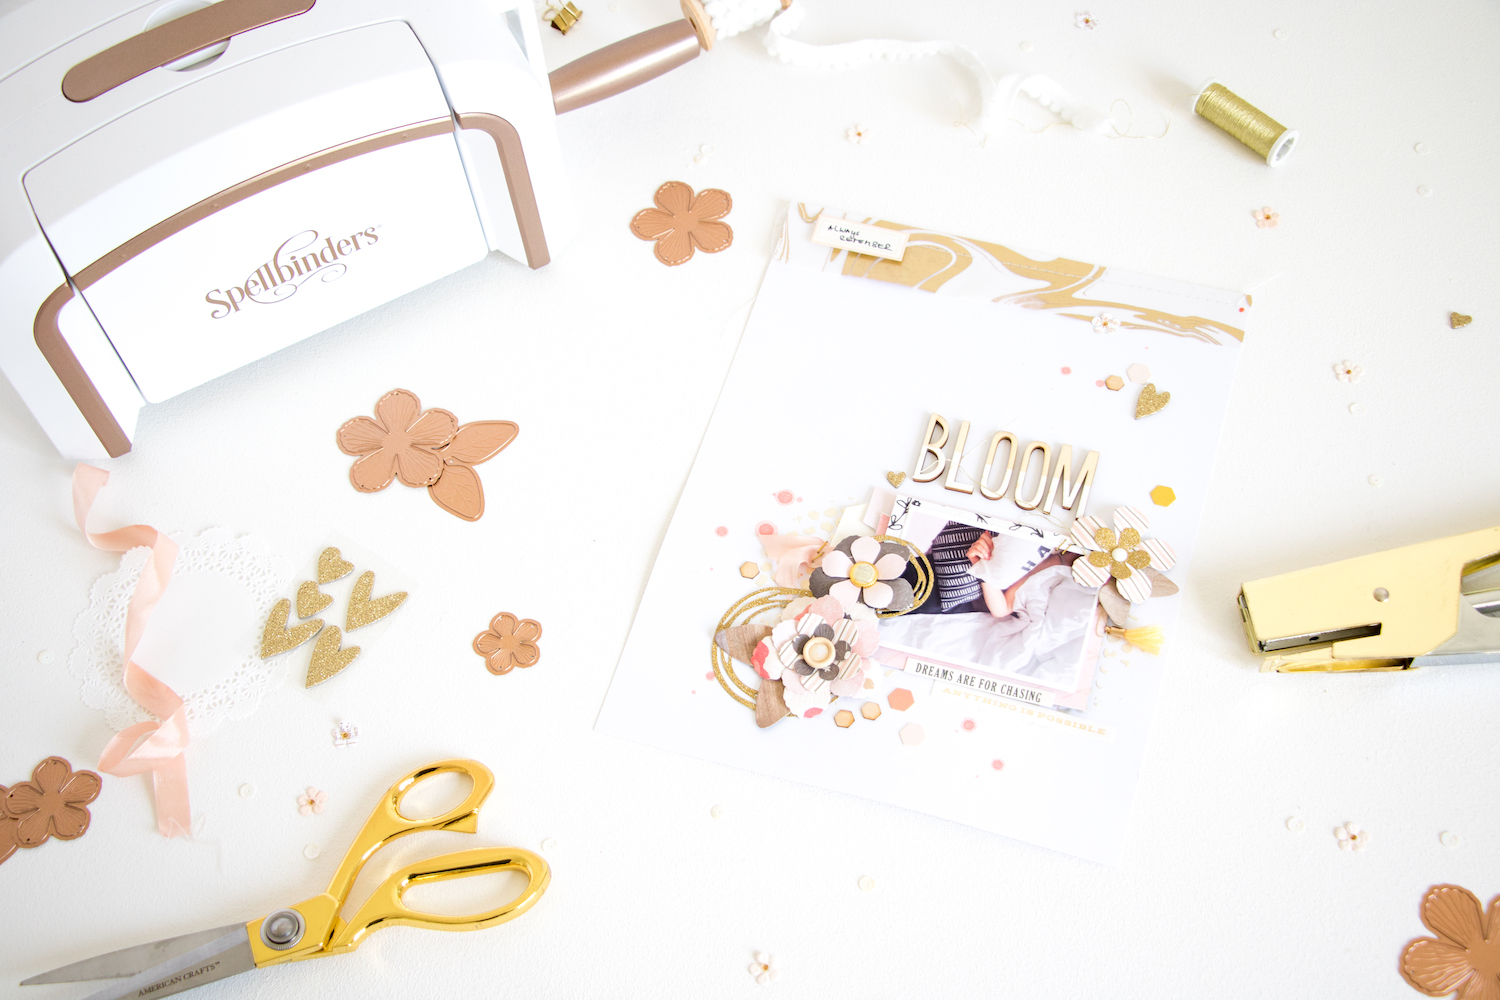
I was so excited to try out the Platinum 6 machine! Not only are the sleek design and the colours right up my alley, I also love the fact that the sides of the machine fold up and the handle is removable for easy storage. Now I can easily slide my Platinum 6 in my sideboard where I keep my bigger tools and I still have so much space left to store other things 🙂 This is what the machine looks like when the sides are folded up:
And below you can see it with the sides folded down. The dark gray circles are really strong magnets that keep the sides in place when they are folded up:
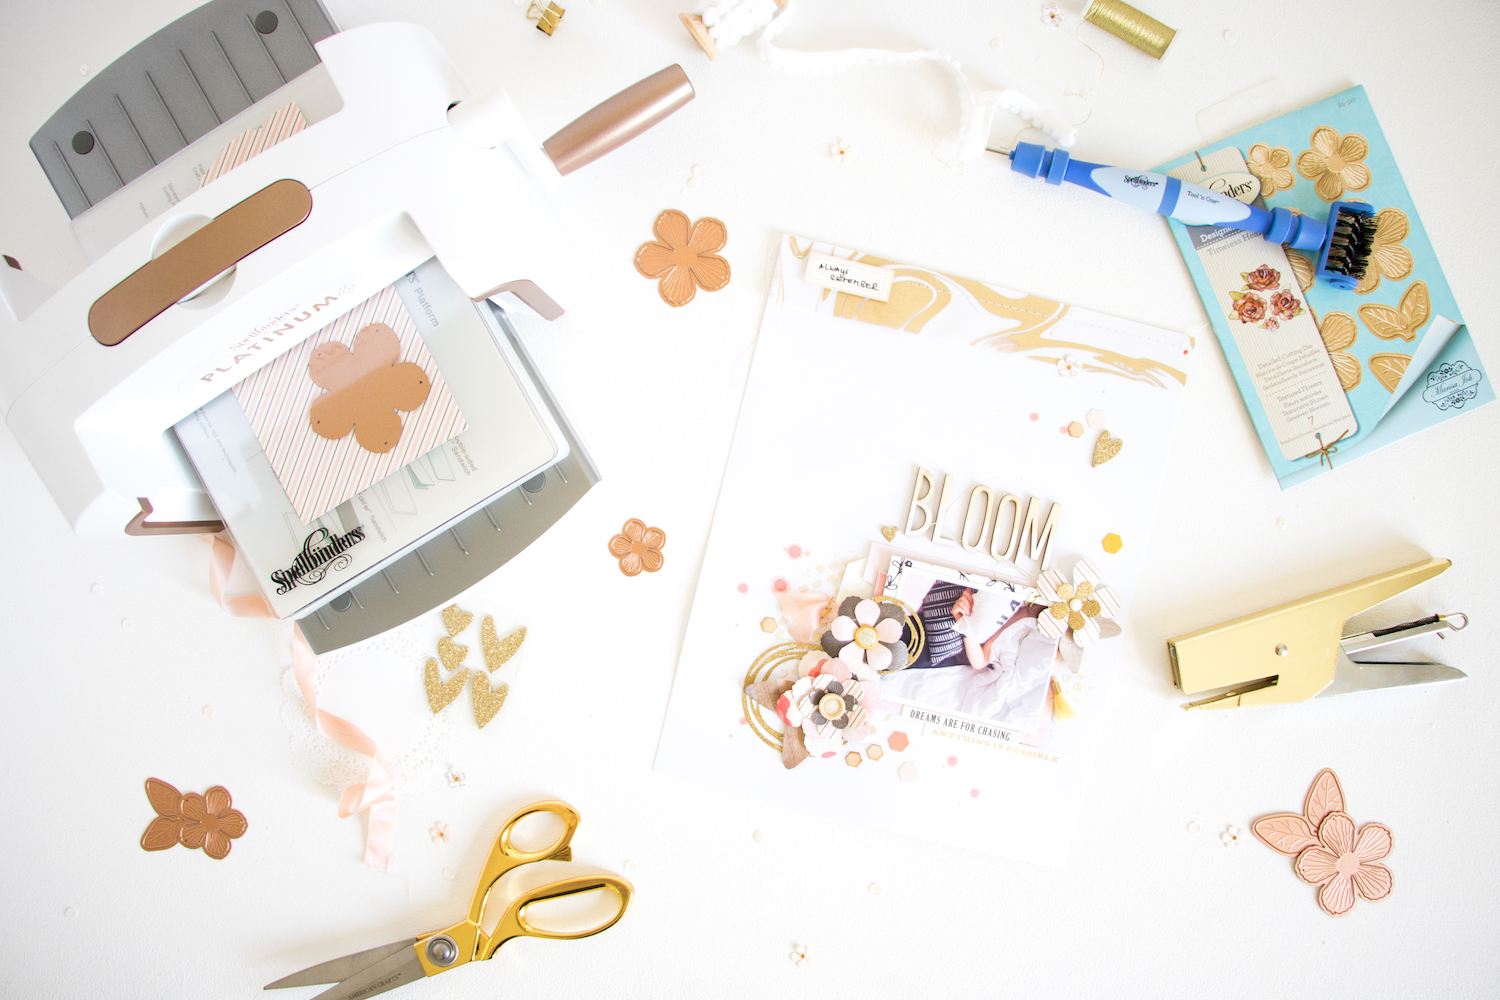
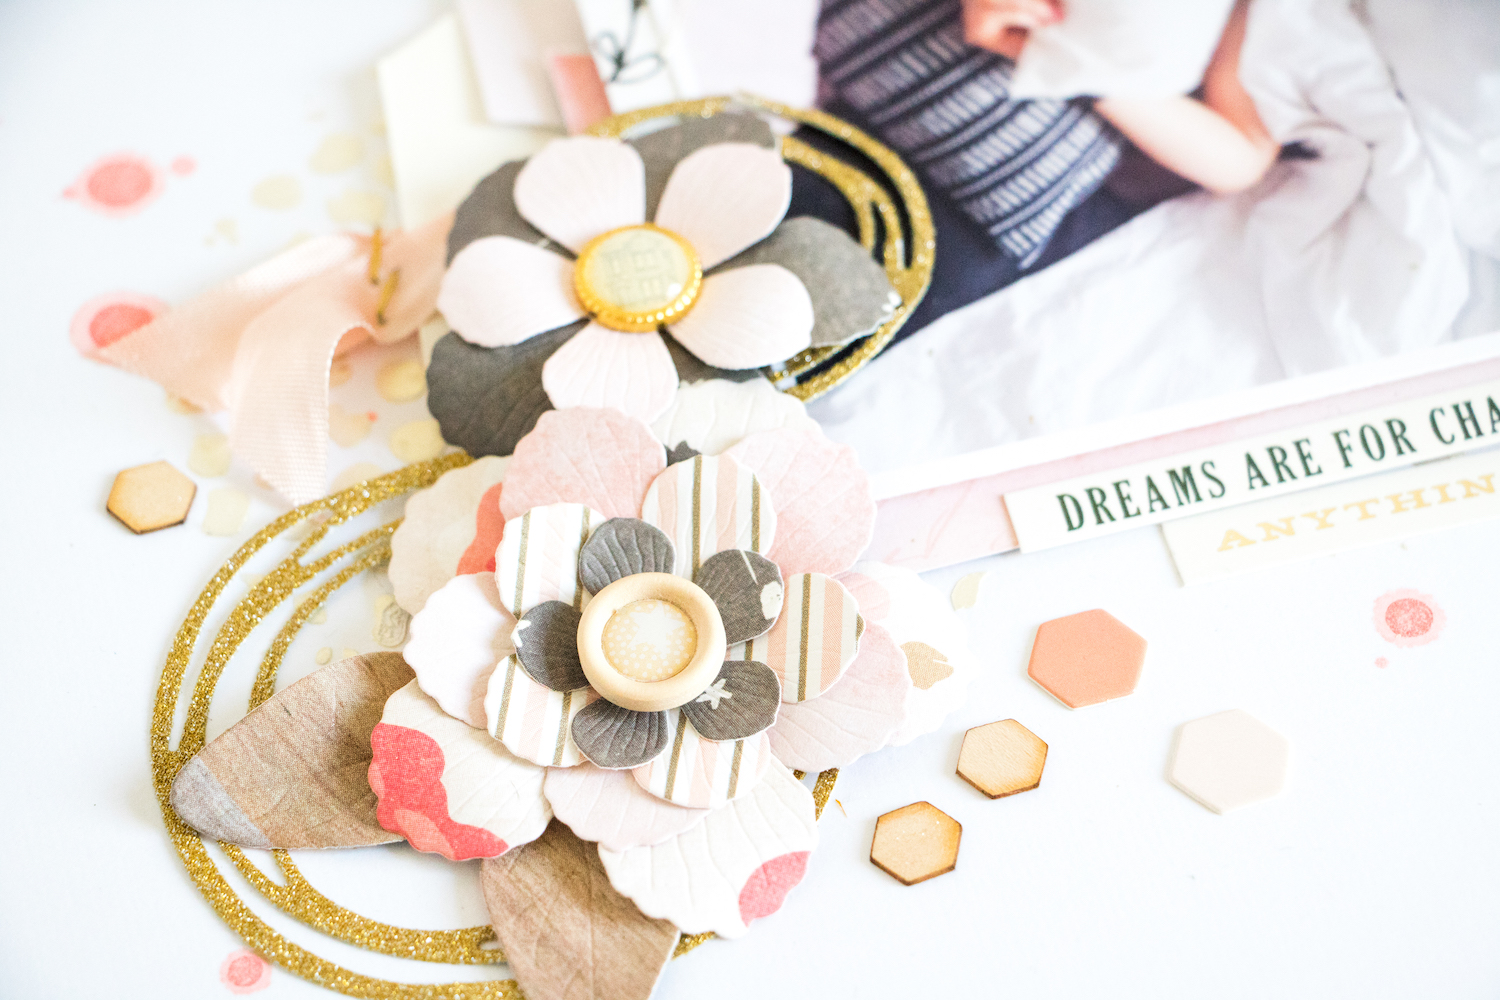
I really enjoyed working with the Platinum 6 and the Textured Flowers die set from the Timeless Heart collection. The dies cut through my papers like butter and what I love most about them is that they not only cut the flowers and leaves, but they also emboss tiny veins on them! I decided I wanted to make some layered flowers and use them on a layout (although I have SO many more ideas for other projects where you could use them!), so I pulled out some paper scraps in colours that would fit my photo and started cutting the different sizes of flowers and leaves.
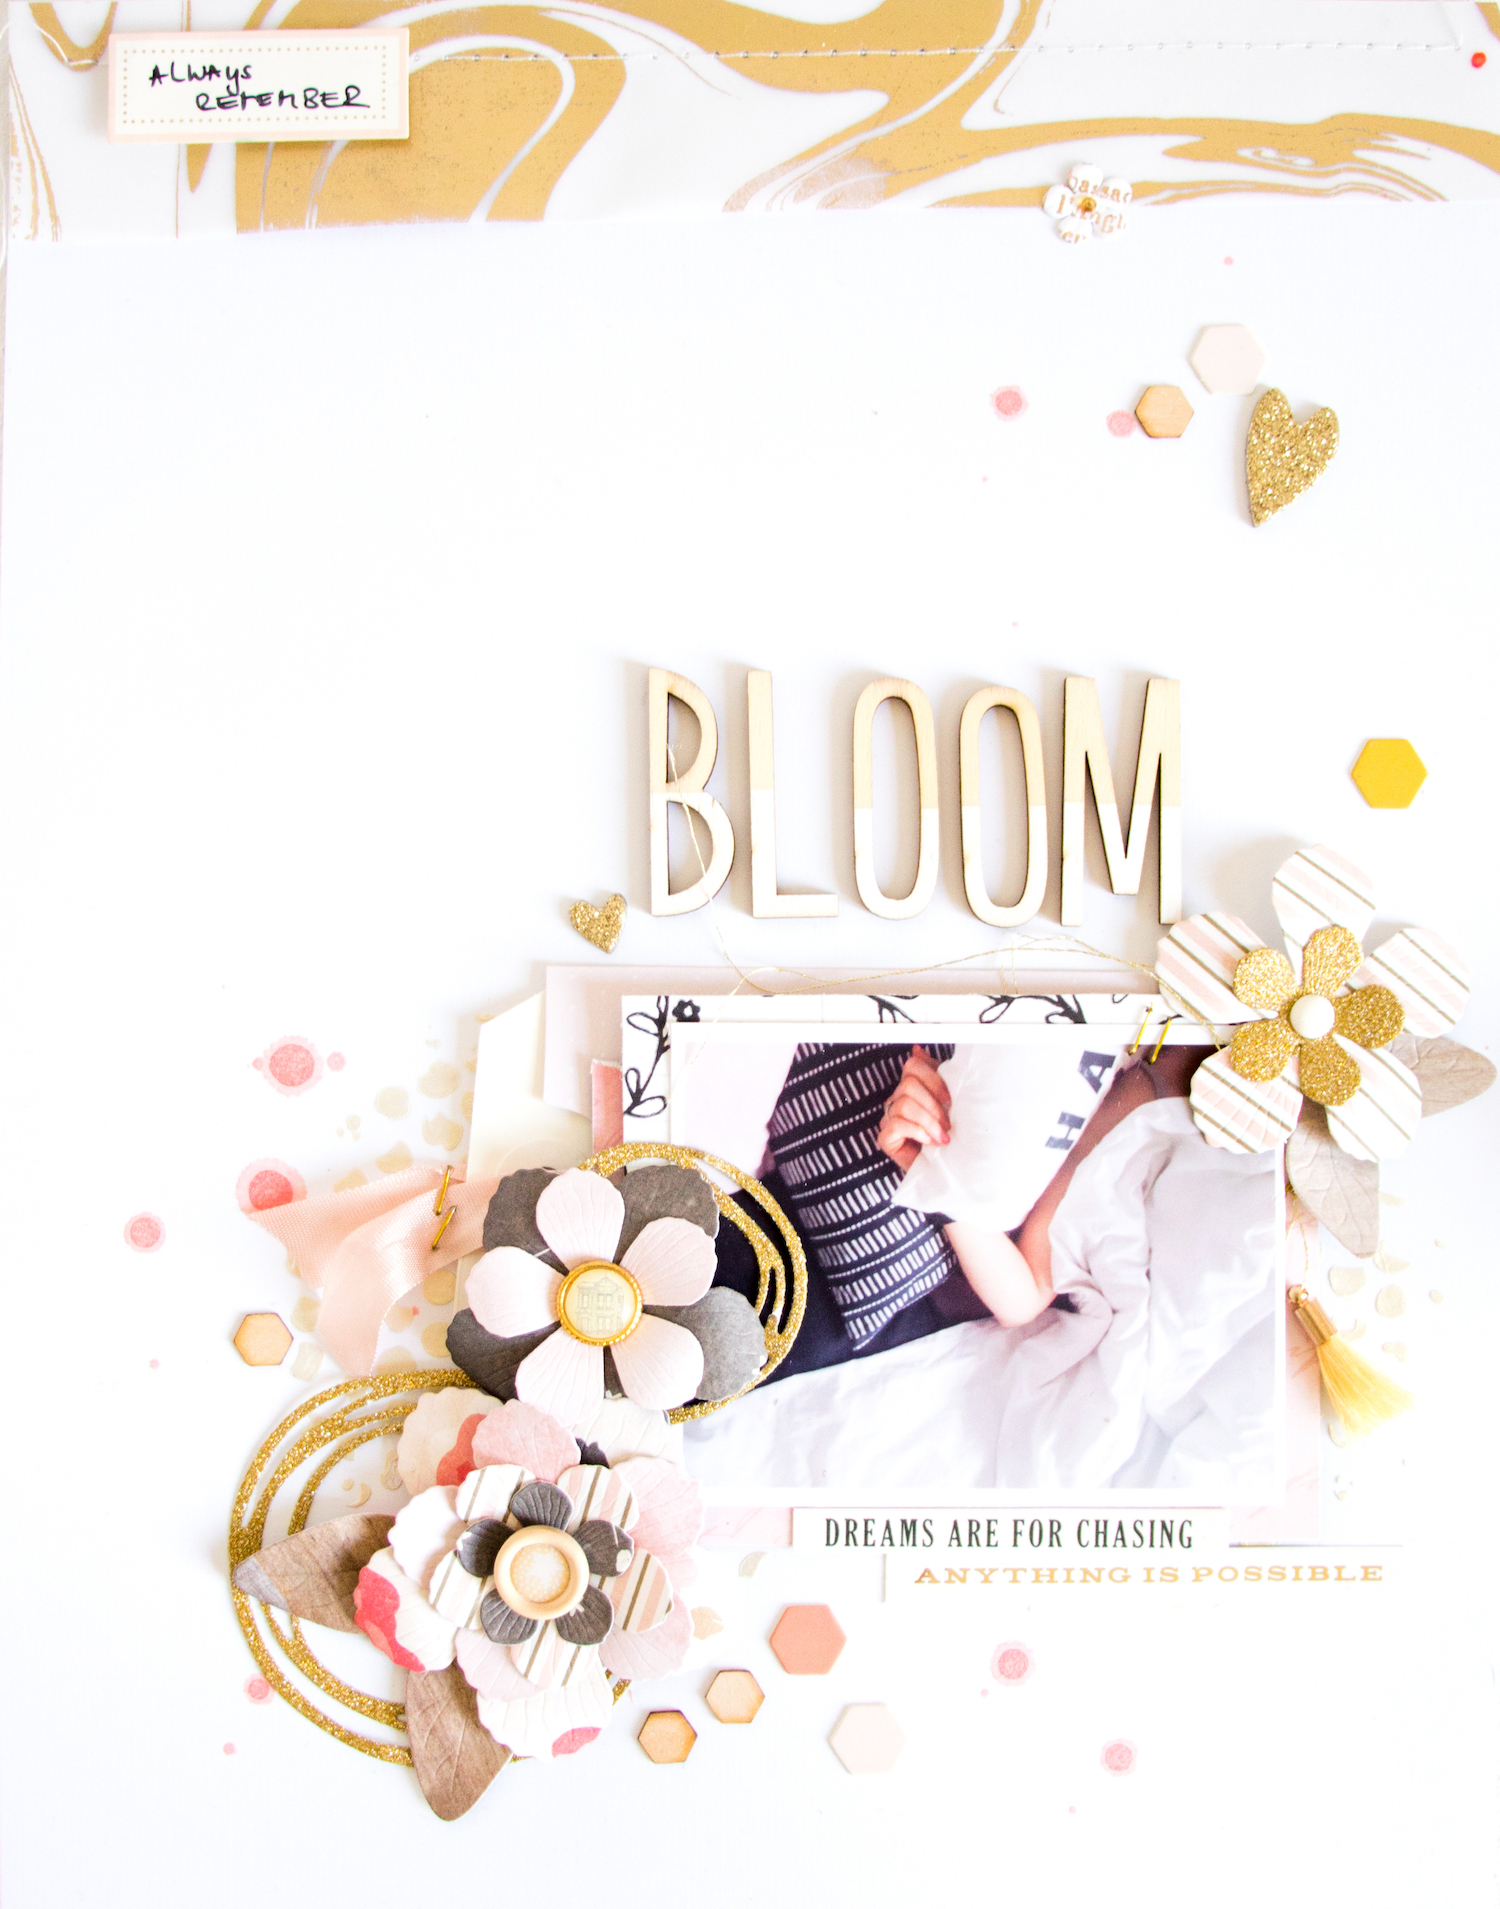
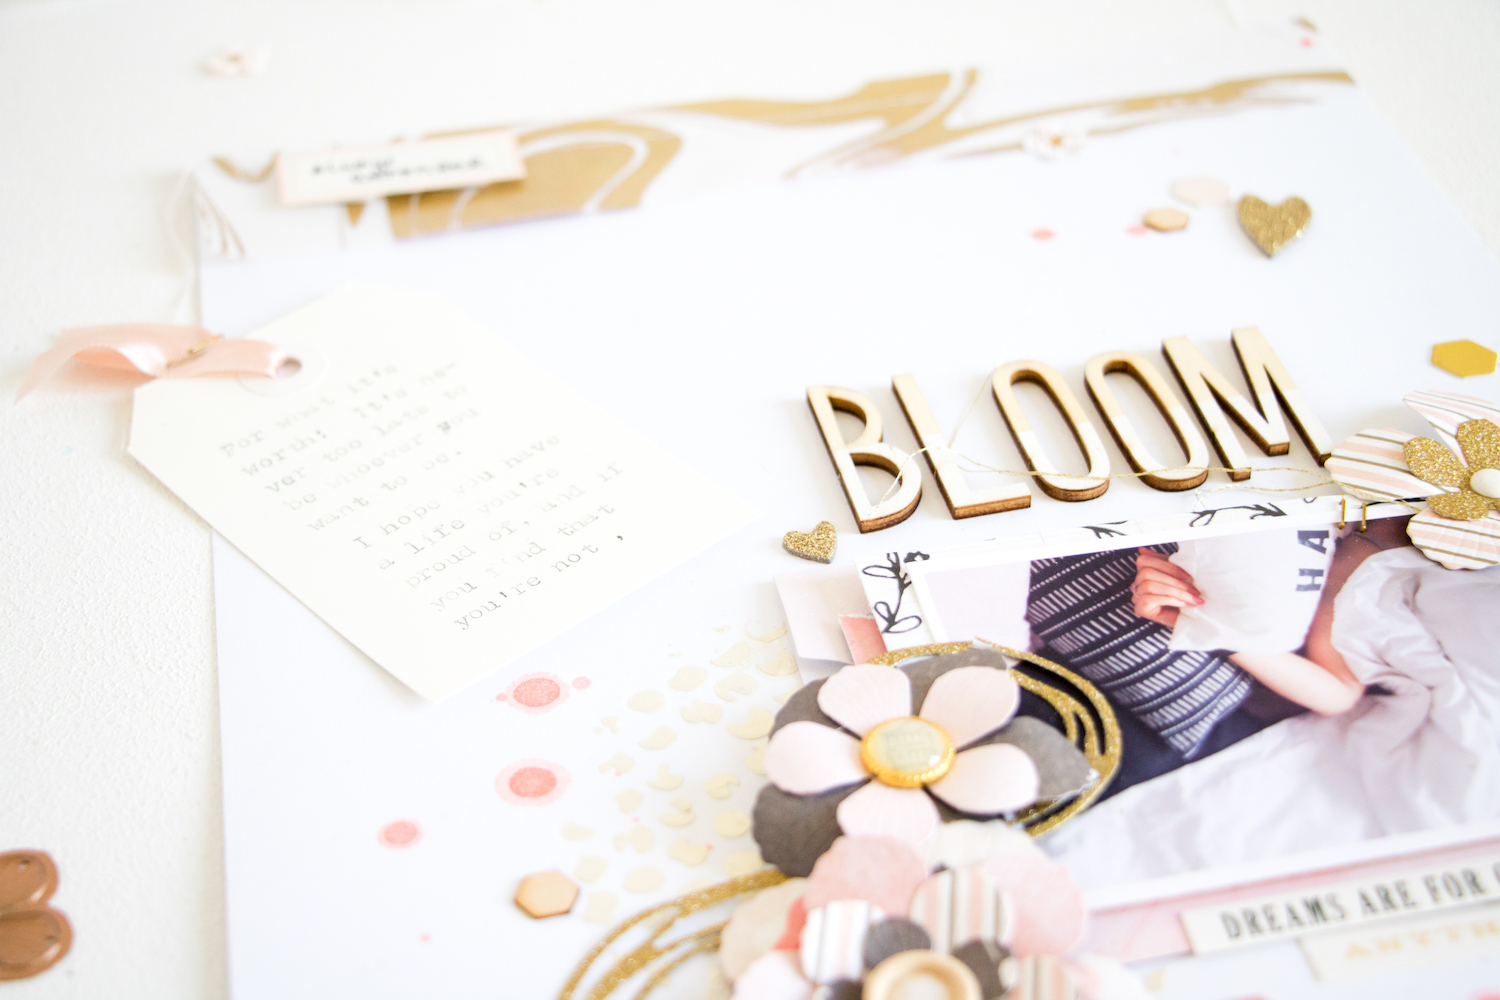
I made three layered flowers using different sizes and numbers of layers to add some variety. For the one on the top right of my photo I also die cut some gold glitter paper and the dies worked perfectly. To repeat the gold elements, I used some scribbled circle dies from my stash and cut the same gold glitter paper. For some more texture I used the Nuvo Embellishment Mousse (in Mother of Pearl) and this bubble stencil behind my photo and paper cluster.
To curl up the petals of the flowers I just used a pencil and rolled the petals over it. Obviously you could give your flowers even more dimension, but since this layout will go into a page protector sooner or later, I didn’t want to make it too high. But I did add some brads, wood buttons and enamel dots in the center of the flowers to make them look even cuter 😉

Because I wanted the focus to be on the photo and the flowers clustered around it, I decided to add my journaling in the form of some hidden journaling. For that I included a paper pocket on which I layered some more patterned papers, as well as my photo, and slid in a tag. On the tag I wrote a quote by F. Scott Fitzgerald with my typewriter, it reads: “For what it’s worth: It’s never too late to be whoever you want to be. I hope you have a life you’re proud of, and if you find that you’re not, I hope you have the strength to start over.”
I made this whole layout to remind myself that it’s good to have dreams and that it’s worth believing in them and working for them, even if not everyone understands them. And, as the quote says, that it’s never too late to change direction!
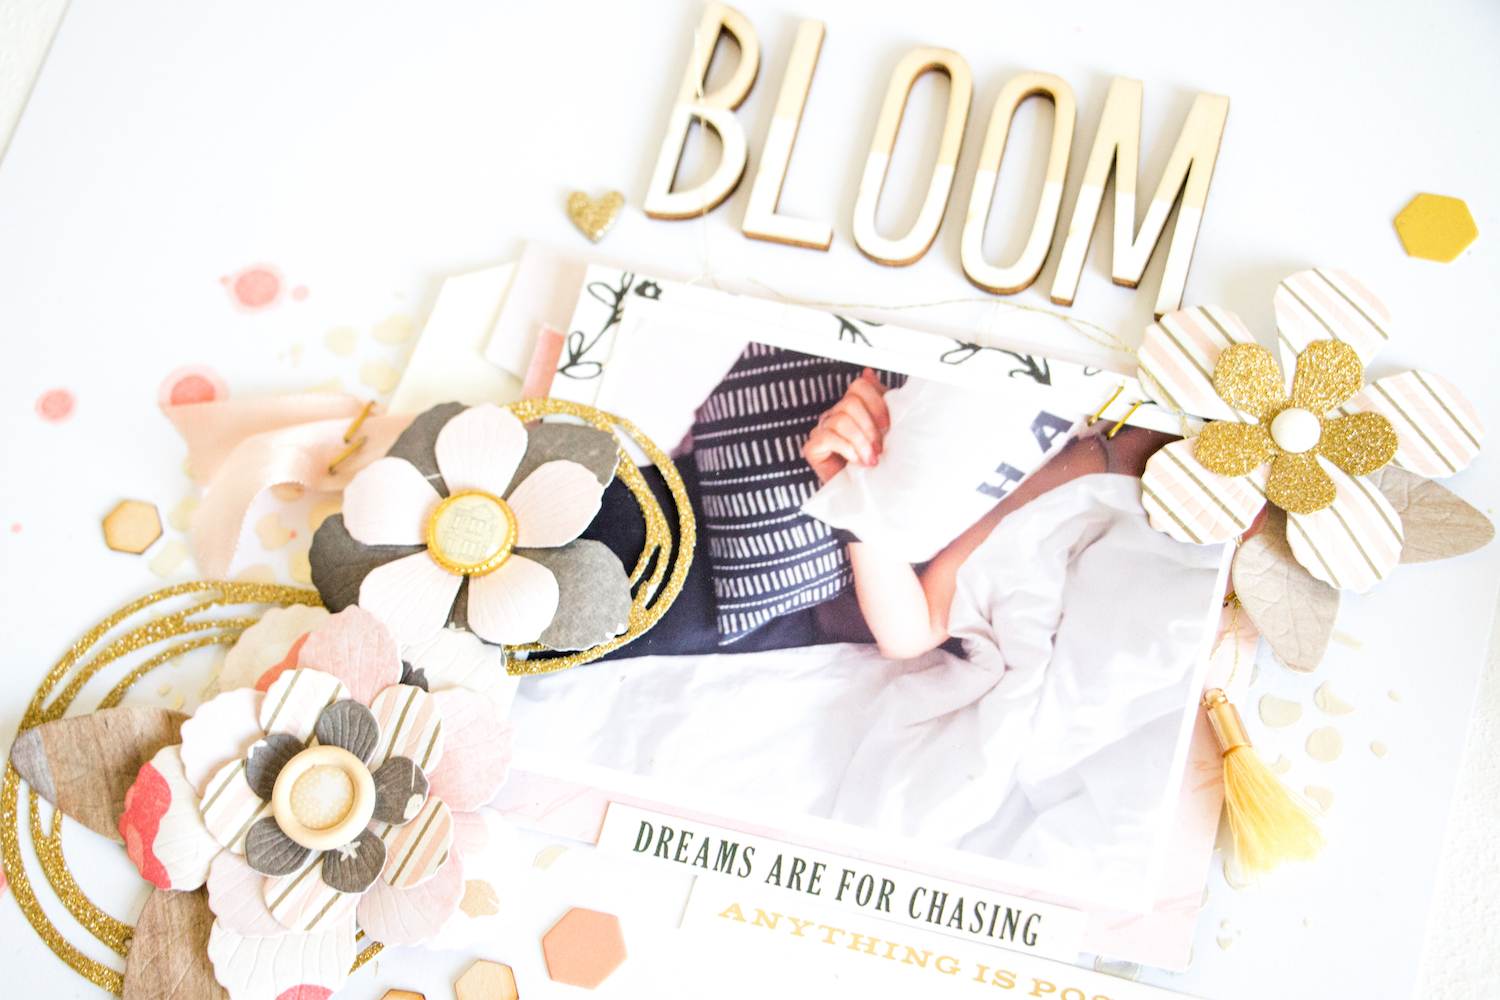
Here’s another look at those gorgeous flowers where you can see all the details in the petals and leaves that you get from the Spellbinders dies! I really am very much in love with them. Normally I would have never made such a “bulky” layout but with these dies I just couldn’t stop and wanted to add more and more flowers, haha 😀
Even after this one project, I am already a big fan of the Platinum 6 (and yes, that is my true, honest opinion). And you know the best thing? Right now you can get the Spellbinders Platinum 6 machine for just $69,99 over at Scrapbook.com – so you save a whopping $50!! Included are also an operation instruction booklet, a standard platform, two Clear Cutting Plates, one Embossing Plate and one Embossing Mat; so everything you need to get started (apart from your favourite dies of course 😉 ).
I will show you my project with the other die set in the coming dies, but until then you can find more inspiring projects with the Spellbinders products on their blog here.
* My blog content may contain affiliate links for products I use and love. Compensated affiliate links present no additional cost to you. If you buy sth. trough my affiliate link, I’ll earn some coffee money which will help keep me going and create more projects for you ? Thank you for your support!
In cooperation with Spellbinders & Scrapbook.com. Words and opinions are my own.

- Spellbinders Platinum 6 - Die Cutting and Embossing Machine

- Spellbinders - Tool 'n One

- Spellbinders - Textured Flowers Dies - Timeless Heart

- Kaisercraft - 12x12" Glitter Cardstock
- Tim Holtz - Layering Stencil - Bubble
- Tonic Studios - Nuvo Embellishment Mousse - Mother of Pearl
- Heidi Swapp - Color Shine - Primrose
- Crate Paper - Falala - Wood Veneer Thickers

- American Crafts - Little By Little - Wood Buttons
- Amercian Crafts - Mini Stapler Gold

- American Crafts - Scissors Gold

- Scrapbook Adhesives - Foam Squares