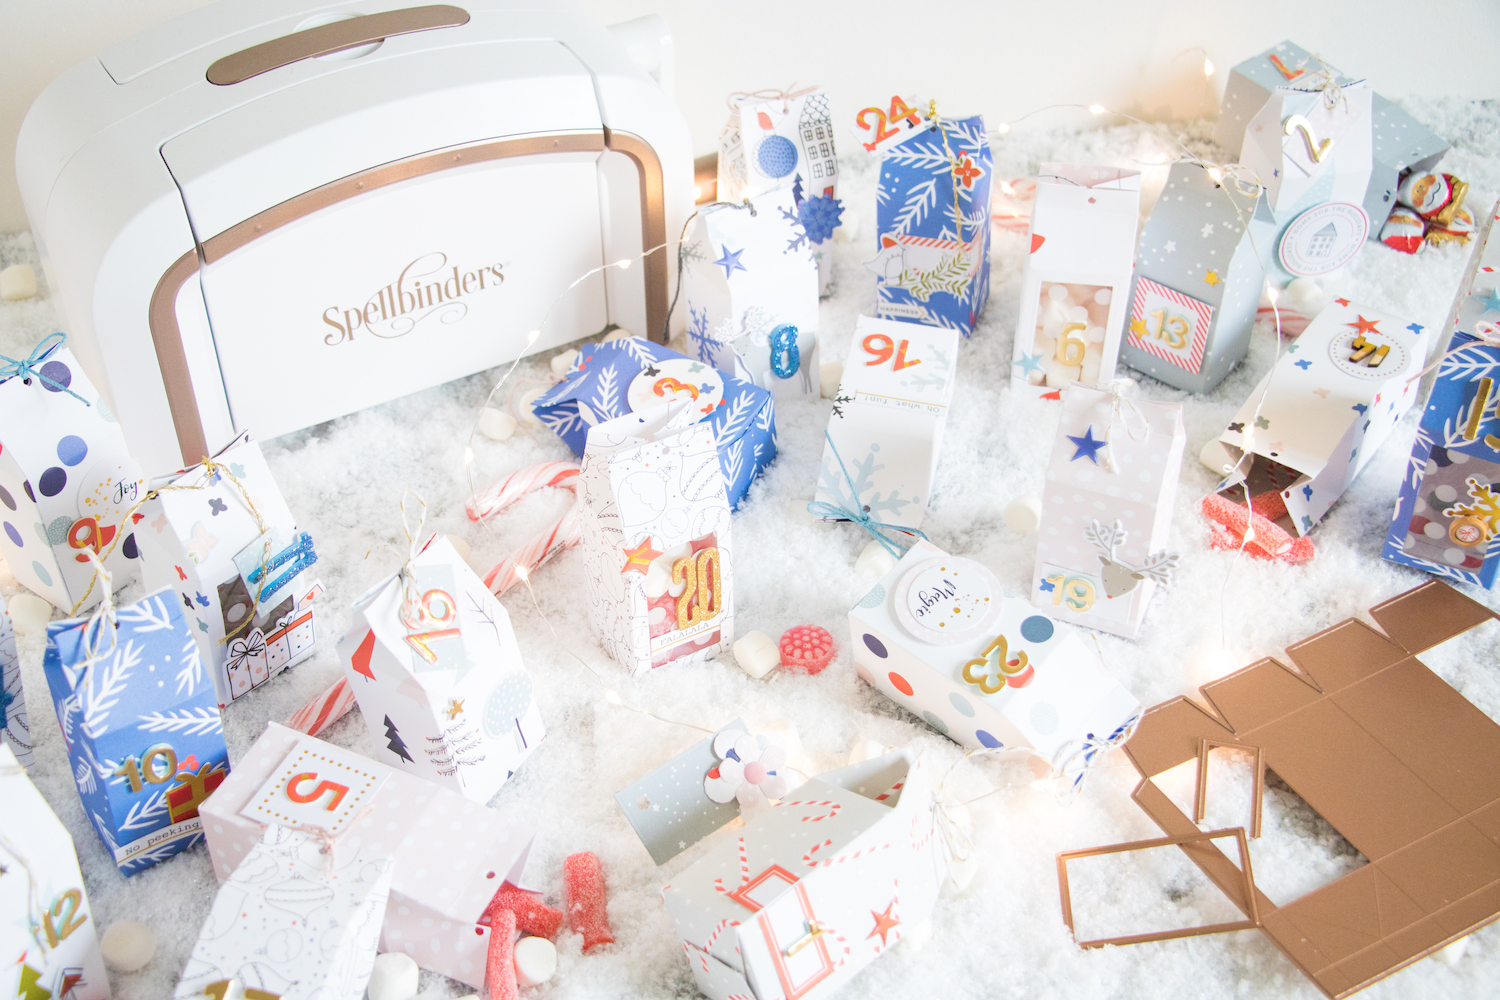

- Spellbinders Platinum 6

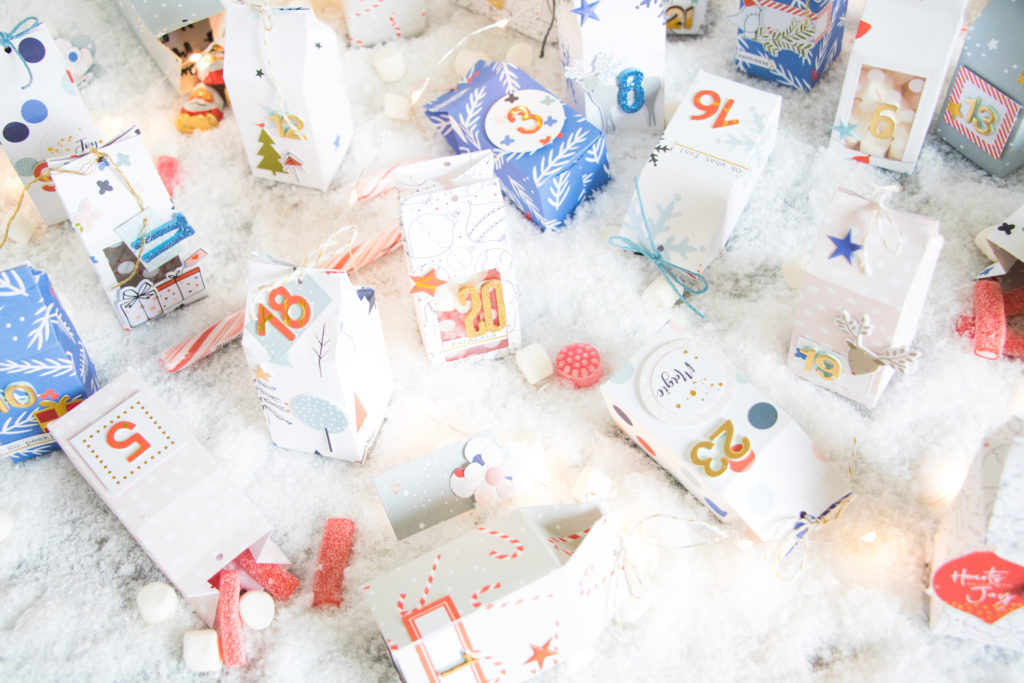
- Lawn Fawn Milk Carton Die

- Sizzix Milk Carton Die

- Pinkfresh December Days Candy Canes

- Pinkfresh December Days Pines

- Pinkfresh December Days Christmas Magic

- Pinkfresh December Days Alpha Stickers

- Pinkfresh Holiday Vibes 12x12 Paper Pack

- Pinkfresh Holiday Vibes Puffy Stickers

- Pinkfresh Holiday Vibes Ephemera

- Pinkfresh Holiday Vibes Chipboard Stickers

- Pinkfresh Holiday Vibes Wood Epoxy Buttons

- Pinkfresh Holiday Vibes Epoxy Stickers

- Pinkfresh Holiday Vibes Alpha Stickers

- Pinkfresh Holiday Vibes Enamel Dots

- Pinkfresh Holiday Vibes Wood Alpha Stickers

- WRMK 12x12 Acetate White Dot

- WRMK 12x12 Acetate White Stripe

- American Crafts Gold Glitter Foam Thickers

- Crate Paper Carousel Gold Foil Thickers
- Crate Paper Gold Glitter Foam Thickers

- American Crafts Aqua Glitter Foam Thickers

- Lawn Fawn Bakers Twine Silver & Gold

- Lawn Fawn Bakers Twine Gold