Hey friends, it’s Kathleen back with you today and I actually have to share yet another mini album with you! If you haven’t seen the one I shared last time, made with the beautiful Flourish collection, make sure to check out this blog post. For today’s album I used the bright and cheerful Sunny Days collection to document some of my favorite summer vacation photos.
At the end of this post you can also find a quick flipthrough video of the album where you can see all of the pages and details.
Inside Pages
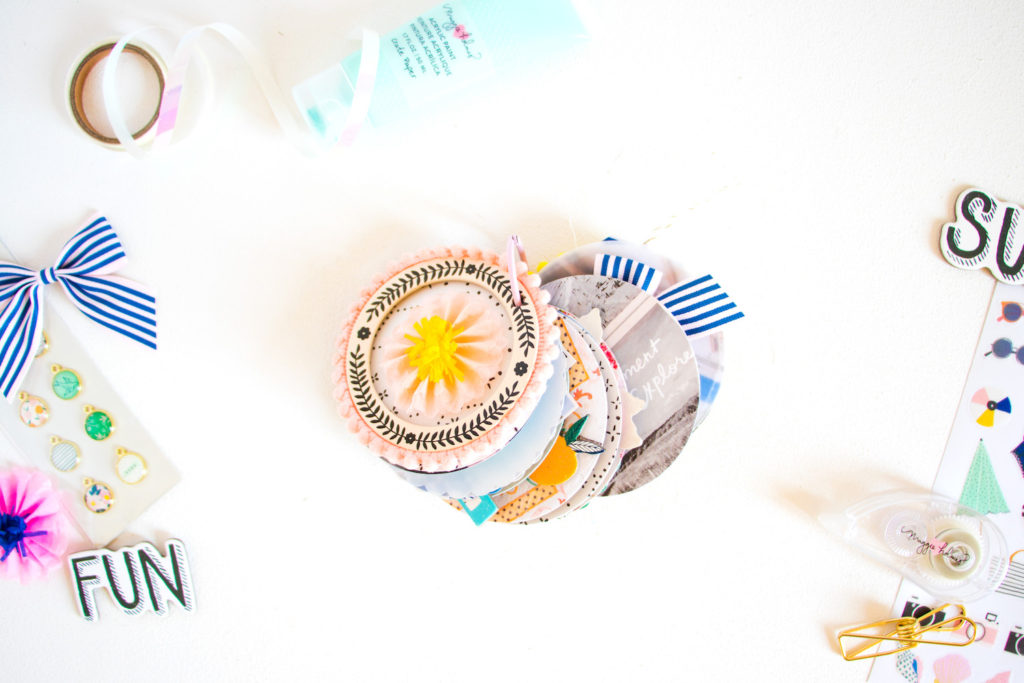
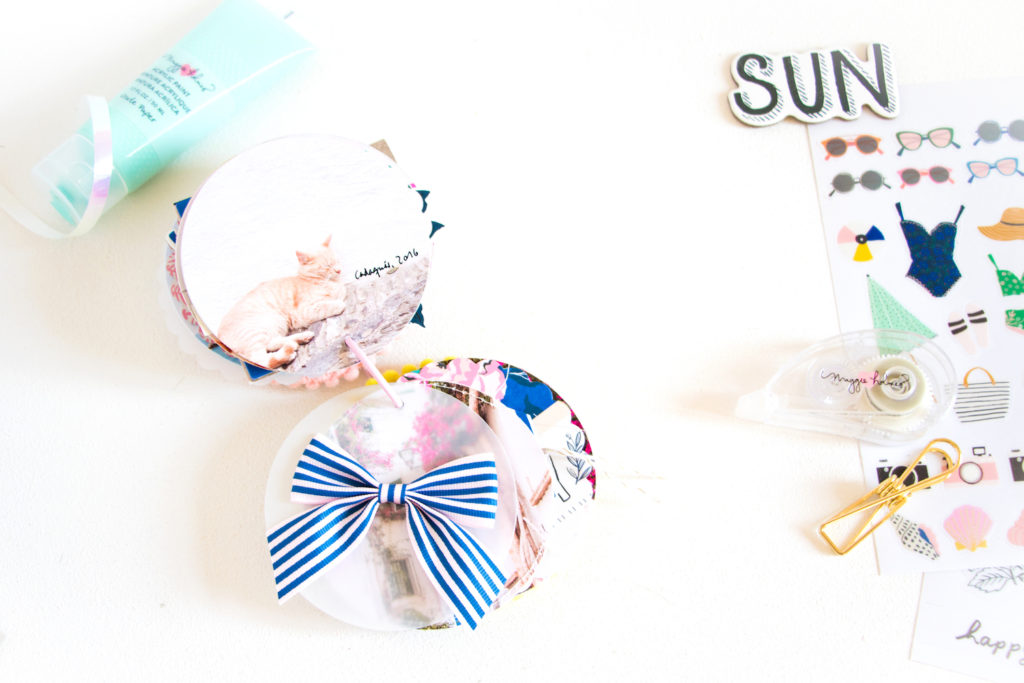
To change things up a little bit, I decided on round pages. I was inspired by those cute pompom frames that I had left from the Willow Lane collection. I thought that they could work really well as the front and back “cover” of my album. For the binding I used a simple book-binding ring.
The easiest way for me to create the inside pages was to use my manual diecutting machine. I grabbed two circle dies in a similar size to the pompom frames (about 3.5″ diameter), both with a regular edge and scalloped edge.
The Photos
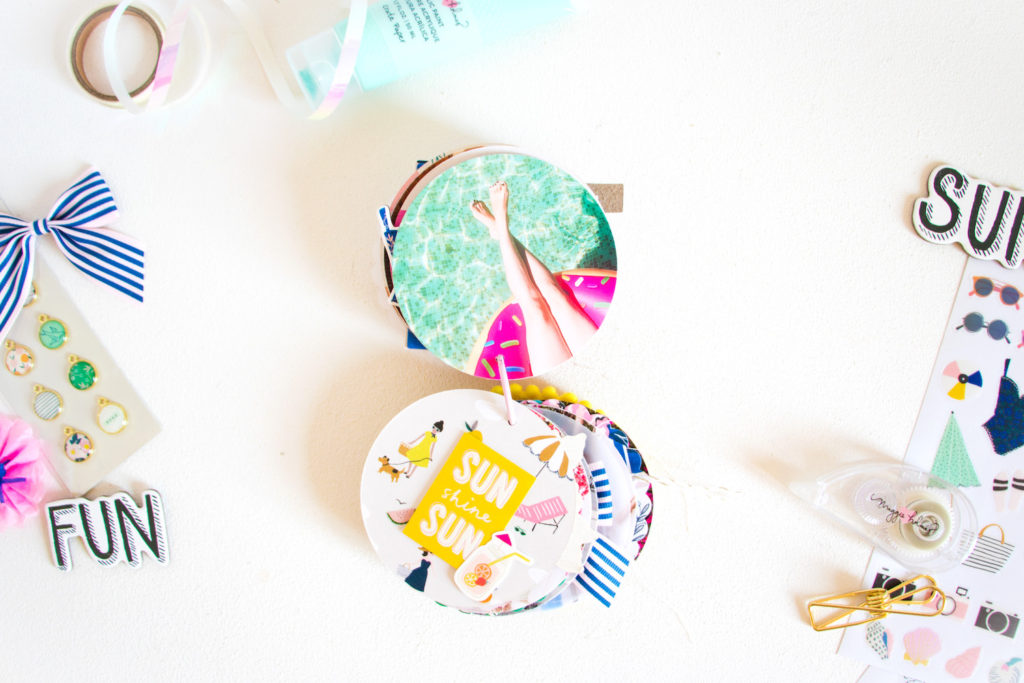
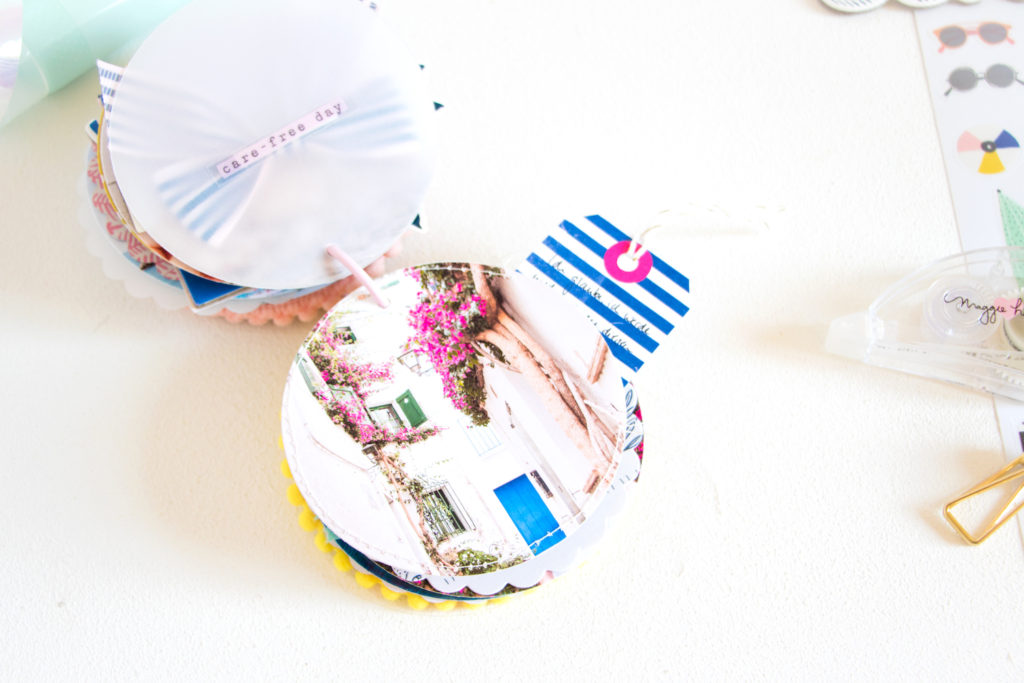
Before I had even printed my photos I just cut a bunch of circles from my favorite papers and then arranged them later. I printed almost all of my photos to fill a 3.5″ circle and only included one smaller square photo in the album (see photo above on the right).
I love including full-page photos in my larger mini albums but don’t always do too many of them because of the amount of photo paper I’d need. Since the pages in this album are so small though, I could fit six photos on one A4 sheet.
Embellishing
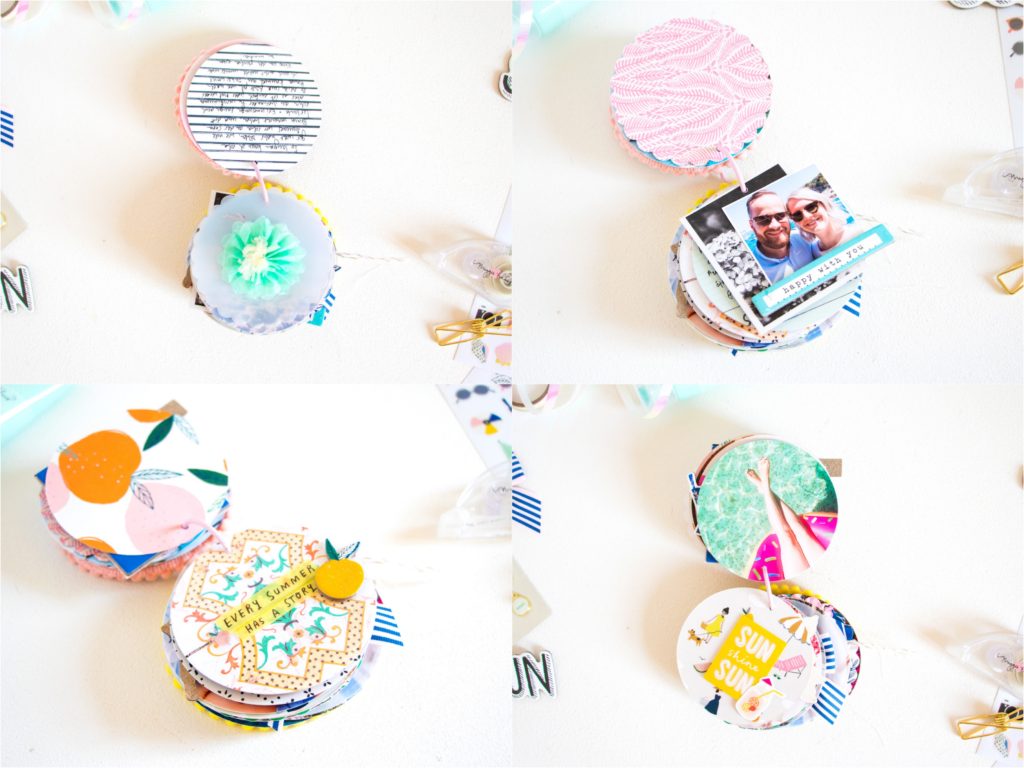
I used a mix of all kinds of embellishments from the Sunny Days collection. I tried to use as many flat elements (like cardstock and clear stickers) as possible. But I couldn’t resist including those cute paper flowers, some chipboard stickers and one of the beautiful striped bows!
To add some more texture to the album, I also cut out some pages from vellum and acetate sheets. On one of the acetate pages I used the pretty mint green acrylic paint from the Sunny Days collection to create a backdrop for the sticker I used on it. Check out the video below to see what I’m talking about 😉
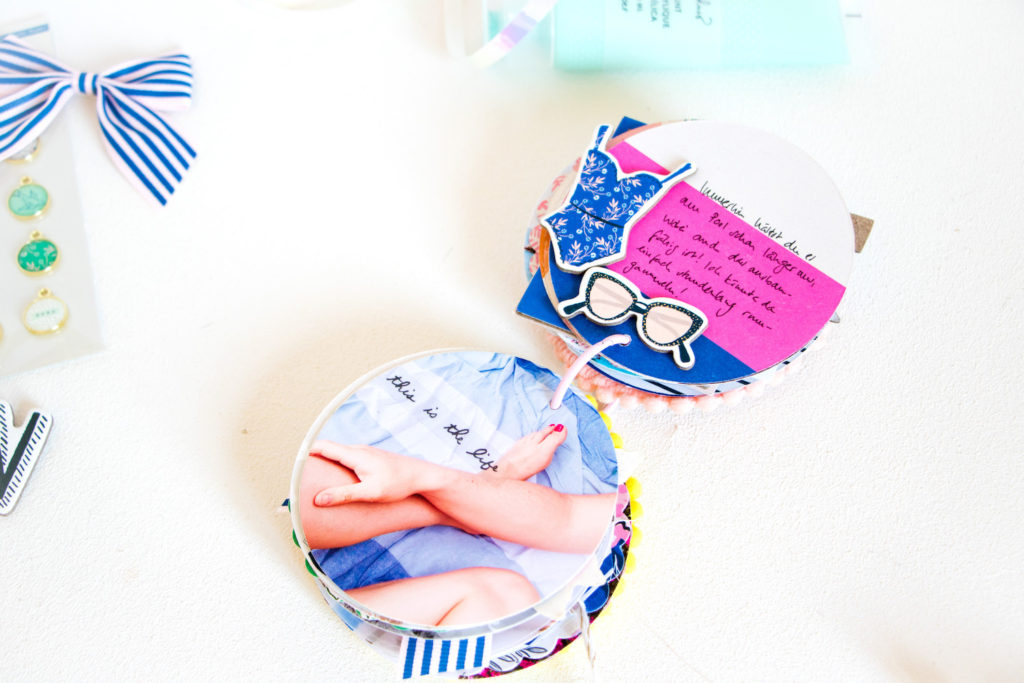
Of course I also had to create some kind of pocket for hidden journaling – I just love them! For this album it was a bit trickier, but I managed to find a way. I simply sewed two photos back to back (without gluing them together) and kept a little opening where I could then slide in a little tag with some journaling.

I just love how the colors in the collection complement my photos! It was so much fun putting this together and working on each page individually, finding ways where I could incorporate all different kinds of embellishments.

Below you can find a quick flipthrough of the mini album where you can see all of the details even better. Let me know if you have any questions!
I hope you enjoyed this project and maybe try your hand at creating a circular mini album, too! Thanks a lot for stopping by! Until next time 🙂
xo, Kathleen
Products used: Maggie Holmes Sunny Days Collection / Sunny Days 12×12 Paper Pad / Sunny Days 6×8 Paper Pad / Sunny Days Cardstock Stickers / Sunny Days Chipboard Stickers / Sunny Days Clear Stickers / Sunny Days Acrylic Paints / Sunny Days Paper Flowers / Sunny Days Fabric Bows / Sunny Days Ephemera / Sunny Days Rhinestones / Sunny Days Washi Tape / Sunny Days Explorer Paper / Sunny Days Happy Place Paper / Sunny Days Coral Paper / Sunny Days Peachy paper / Sunny Days Seaside Paper / Sunny Days Whimsy Paper / Sunny Days Parasol Paper / Sunny Days Splendor Paper // Maggie Holmes Willow Lane Pompom Frame