Hi everyone! I’ve been gowing through my drafted blog posts again and found this project that I hadn’t shared here on the blog yet. So, today is the day 😉
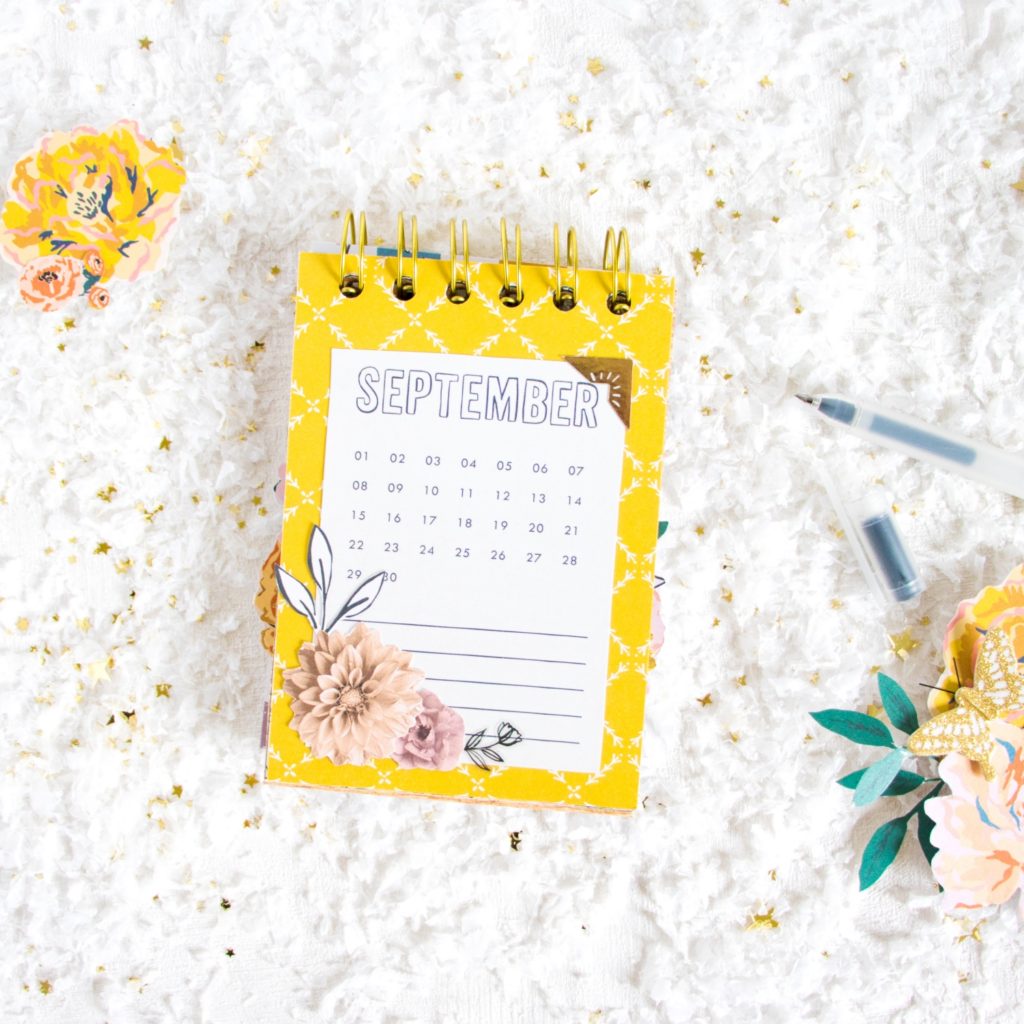
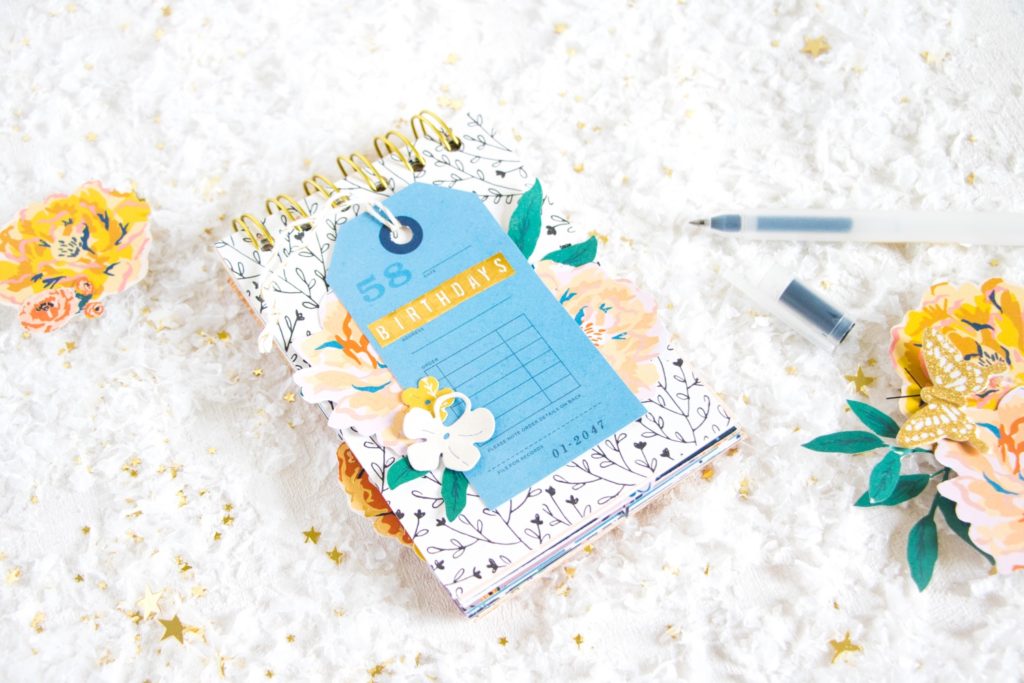
Back when I was working with the Sunny Days collection*, I already had an idea for how I could use the Weekend paper, but I didn’t get around to making it. But now I did! I combined that paper with elements from the Heritage collection to create a Birthday calendar!
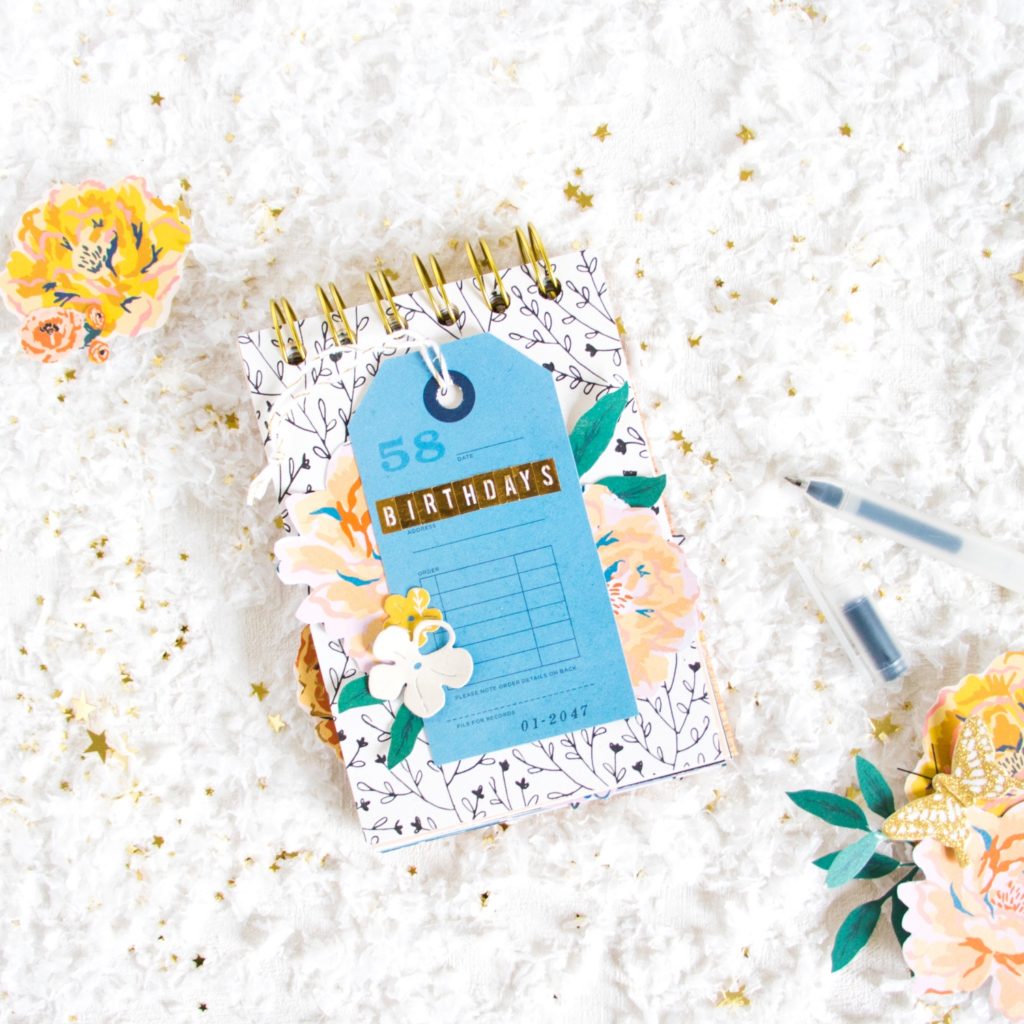
It’s super simple to create and would make for a great project to make with a teen. It’s also fairly easy to mass-produce, so it may be a great Christmas gift, too.
Here’s what you need to make this Birthday calendar:
- Weekend paper from Sunny Days (if you can’t find it anymore, you can also print your own calendar pages)
- Patterned papers from your favorite collection
- Piece of chipboard (3.5″x5″) for the back cover
- A few embellishments (preferably flat), like stickers or die cuts
- Cinch Bindery Tool & wires (or, if you don’t own one, you could use book rings instead)
And this is how you make it:
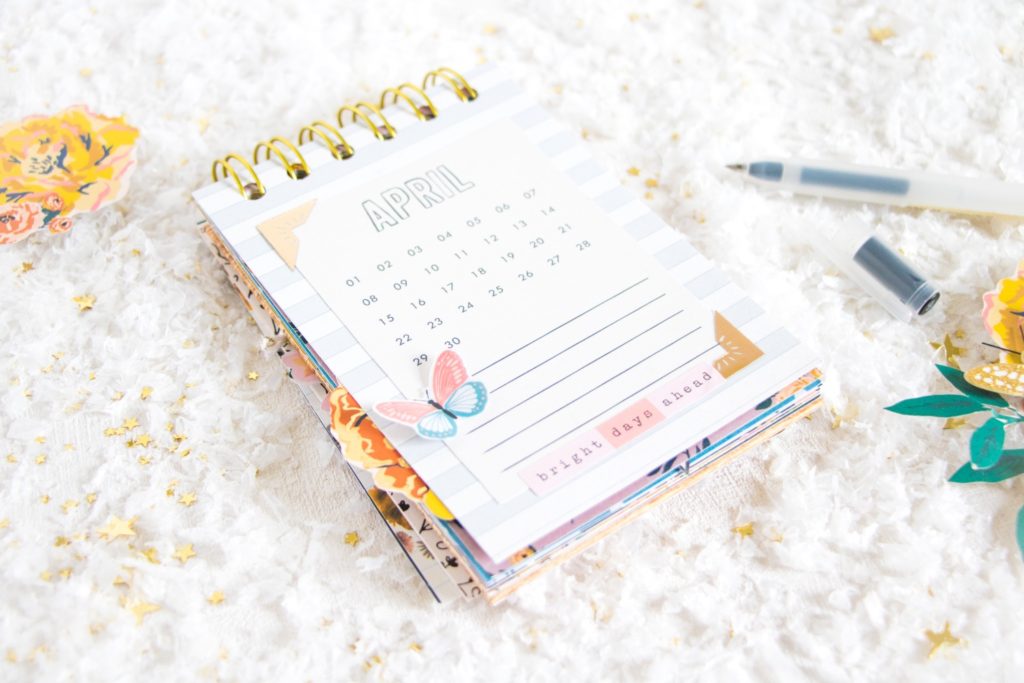
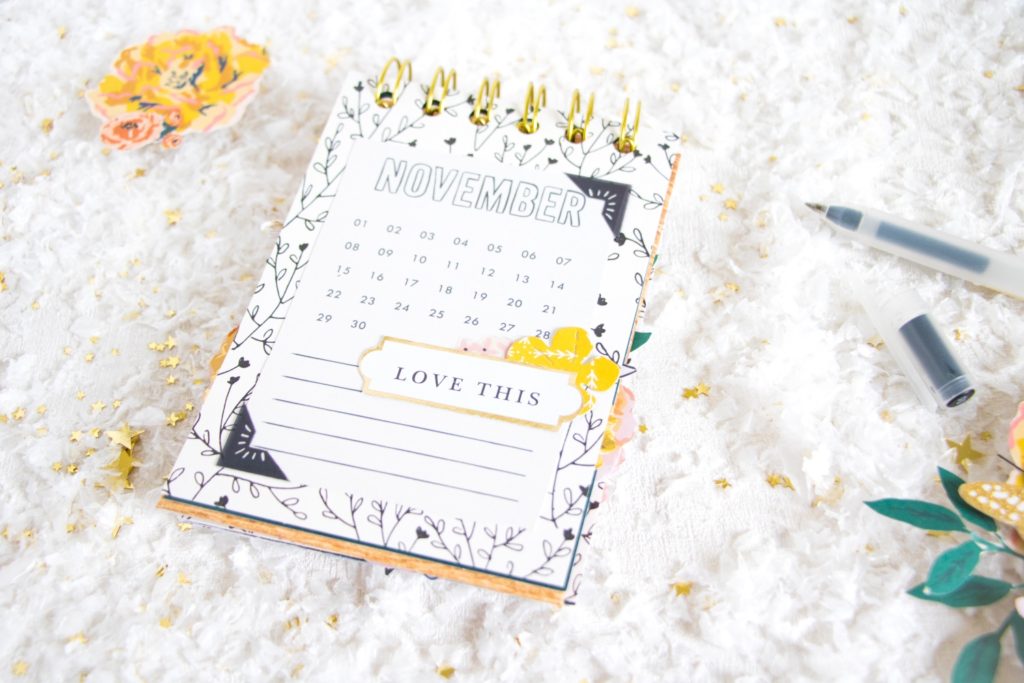
- Cut out the monthly calendar pages from the Weekend paper (or use your printed calendar pages)
- Cut 13 pages from different patterned papers to 3.5″x5″ (I also used some of the cards from the Heritage boxed cards set); 12 for the monthly pages and one for the cover
- Adhere the calendar pages to the patterned papers
- Embellish each page to your liking
- Embellish the cover
- Cover the piece of chipboard with patterned paper to create the back cover (I chose the wood grain pattern of the Lifetime paper)
- Use your Cinch to punch the holes and bind the pages (or punch the holes with a Crop-a-Dile and use book rings to bind it)
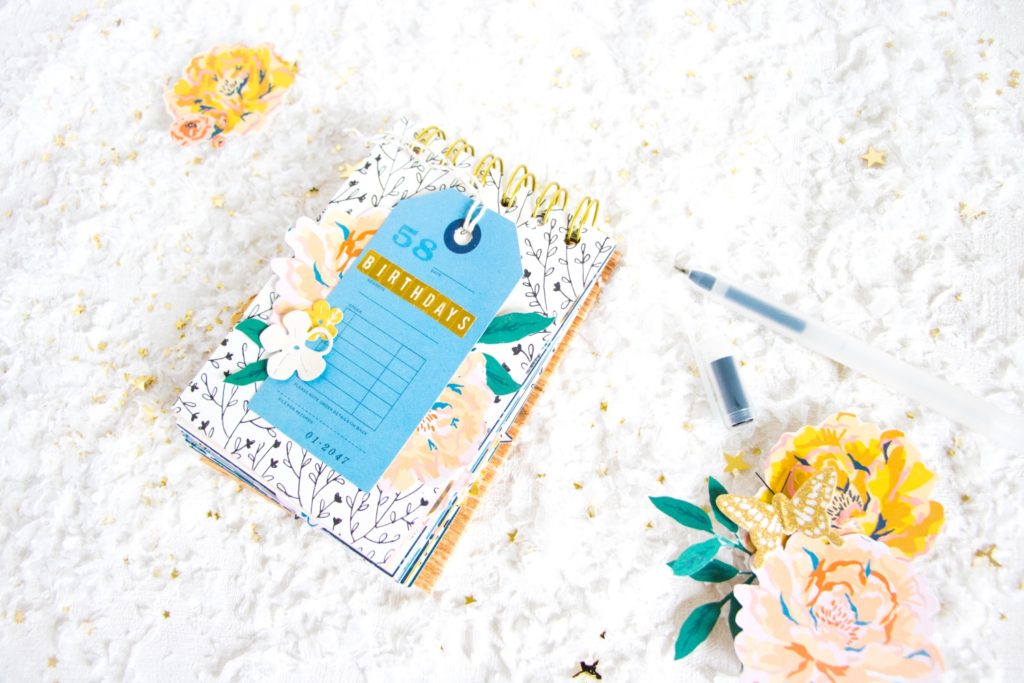
It’s so simple to make, right? Here’s a look into my little calendar:

I used lots of stickers from the Clear Sticker Book, some ephemera pieces and some flowers I had fussy cut from different papers to embellish my calendar pages. I wanted to keep the pages relatively flat so the calendar wouldn’t become too bulky.
More ideas for making your calendar:
Of course you can adapt the calendar to your needs. For instance, you could cut down some printer paper and add it in between the calendar pages to have room for notes.
Or, if you don’t wanted to use it as a perpetual calendar, you could add more patterned paper pages where you could add your favorite photo(s) of each month as the year passes. So by the end of the year you would have a little mini album with the highlights of the past year.
I hope this inspires you to create your own Birthday calendar! If you do make one, I would love to see, so be sure to tag me on social media (@scatteredconfetti).
Thanks a lot for stopping by today! Xo, Kathleen
*This blogpost contains affiliate links for products I use and love. Compensated affiliate links present no additional cost to you. If you buy sth. through my affiliate link, I’ll earn some coffee money which will help keep me going and create more projects for you 😉 Thank you for your support!
Julia
Hallo Kathleen,
Danke für diese Idee, jetzt weiß ich endlich auch,
was ich mit diesem DP Bogen mache… 🙂
Liebe Grüße Julia